This article applies to ScreenBeam 1xxx-Series products.
Use Digital Signage on your ScreenBeam receiver to display dynamic content on your display while the receiver is idle. In this article, we will guide you in creating content using Google Slides, and then enabling the Digital Signage feature on your receiver to start displaying your content.
Section 1: Create Your Digital Signage Content
Section 2: Enable Digital Signage on the ScreenBeam Receiver
Use Google Slides to Create Digital Signage Content
This section will use Google Slides as an example of one method to use for Digital Signage content creation. You may use any service you would like, as long as the content is published and available on the web.
Create and Publish Google Slides
Use Google Slides to create your Digital Signage content.
1. Open your browser to https://slides.google.com and create a new presentation
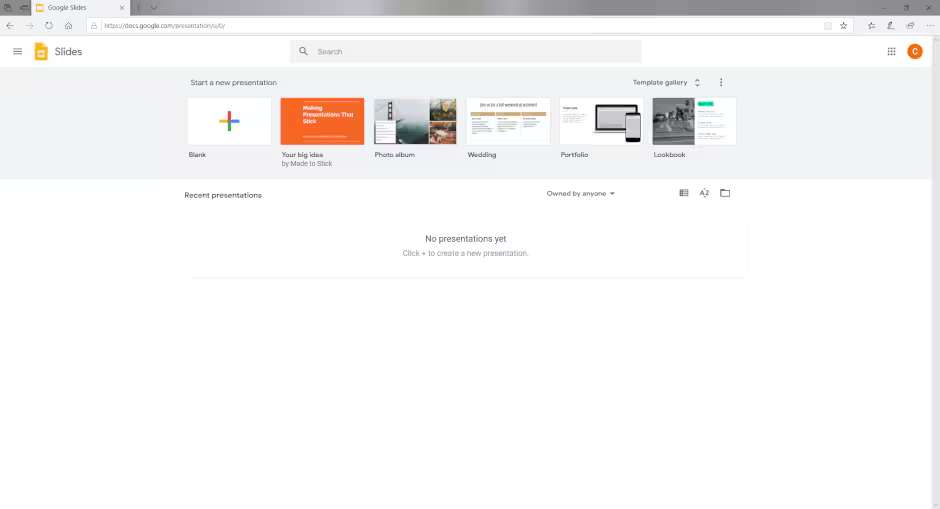
2. Use the Google Slides editor to create the presentation you would like to use for digital signage.
.avif)
3. Once the slides are complete, go to File -> Publish to the web
.avif)
4. In the Publish to the web window, select Embed. Choose the options for your presentation and then click Publish.
Note: It is recommended to check the boxes for both Start slideshow as soon as the play loads and Restart the slideshow after the last slide.
.avif)
5. Once you click Publish, some code will appear in the window. Copy this code to a text editor as we will need to parse this text for the URL to use for Digital Signage.
.avif)
6. From the text editor, copy the entire URL that appears after src= and in between the first set of quotes.
.avif)
7. Shorten the URL. Open your browser to https://tinyurl.com. Enter the URL copied from the previous step to the entry box and click on the Make TinyURL! button. Note down the resulting tiny URL.
Note: The tiny URL will be in the format https://tinyurl.com/xxxxxxx
8. If you notice a gray bar appearing at the bottom of the screen during signage playback, include append “&rm=minimal” to the code.
Enable Digital Signage
Using Digital Signage
Enable Digital Signage on your receiver and point it to the content URL you would like to display. Once enabled, the Ready screen on your receiver will change so that it can display your digital signage content.
Enable Digital Signage from the Local Management Interface
Login to the LMI to enable and configure Digital Signage
1. Connect to the ScreenBeam by its network IP or by its access point on your laptop or PC.
.avif)
2. Navigate to the Digital Signage tab. Select Enable for Digital Signage. Select the Display Mode and enter your content's URL in the Source URL field. Enter the number of seconds before the Digital Signage content starts to display in the Restart Delay field. Click Apply to save your configuration.
.avif)
3. After applying the changes, click Refresh and verify the Source URL is set correctly.
.avif)
4. Once configured the settings will take effect immediately. The Digital Signage content will appear on the screen.
.jpg?width=670&height=377&name=rtaImage%20(12).jpg)
5. If your signage playback is met with a gray bar at the bottom of the screen, add append "&rm=minimal"